Monday, November 29, 2021

My Calendar Cat

I was so focused on finishing my 2022 calendar in November that I didn't stop to write any more blog posts about the work in progress as I had intended, so this is more of an afterword to the calendar process.

Although the theme of the 2022 calendar is the Year of the Tiger, as per the Chinese zodiac, I broadened it a bit to include other wild felines, and a few domestic cats, too, specifically my own. Since I went from doing just one calendar illustration a few years ago to doing 12 of them now, I have taken some liberties with the zodiac animal theme to give me a broader range of models. 

I thought I would feature a black cat for October, but I don't have a black cat. However, shortly after our tortoiseshell, Molly, joined our household in 2013, I took a photo of her posing like the cat in those arty "Le Chat Noir" posters, so I decided to use that as my reference and paint her all black. That's the sort of thing one has an artistic license for, after all!

I like to use watercolors, a medium that poses its own unique challenges but appeals to me for a variety of reasons, including that I like working on paper rather than canvas or other surfaces, and because I find the process of learning how to address those very challenges enjoyable.

I decided I needed to work wet-on-wet, that is, painting on wet paper, to evoke the furriness of my subject. There is a trick to it that involves learning to spot when the paper has partially dried just the right amount for the desired effect. If it's too wet, the paint will bleed too much. This is a learning curve for me, as you can see!

One of the beauties of doing paintings to be scanned and placed into a document is that I can tinker with them in Photoshop to fix or change things that aren't working for me. In fact, when I am feeling intimidated about painting the next picture, I tell myself, "It's not Art, it's illustration," and then I relax and get it done. The point is not to disparage my own work, but to remind myself that the raw painting doesn't have to be perfect.


More recently, when Molly was doing that stereotypic cat thing and squeezing herself into a box from a recent delivery, I took a couple of photos, thinking that a cat in a box would make a good December illustration, especially if I added some ribbon and made the box look like a Christmas package (more or less). At first she just stared at me like, "What are you doing?"


Then she obligingly reached a paw out to push something around (she can go crazy over very tiny things, like a dropped coffee bean) and I thought I would try to make it look like she was playing with some scattered ribbon. Although I initially imagined a scene with scattered wrapping paper and ribbons all around, I quickly realized that I would have an easier time completing the illustration if I kept the composition a bit simpler. And it was the last one I needed to finish the calendar, so I didn't want to drag out the process!


You can see how these, and my other illustrations, ended up looking once placed in the calendar here on Etsy.


Wednesday, October 6, 2021

Sketching Tigers for the 2022 Useful Calendar

Quick sketches with a brush pen help me
loosen up and get a feel for drawing
tigers without overthinking it.

Ever since the LoLa art crawl ended (Sep. 18–19), I have mainly been focused on finishing my 2022 Useful Calendar. It's the Year of the Tiger — beginning Feb. 1, 2022 — and so that is the animal that I will feature on this calendar. Tigers and cats, that is, because I did a whole year of dog illustrations a few years back for the year of the dog, so it only seems right for the upcoming calendar to be all about the cats.

A lot of the work I do in preparation for making my calendar is research, which I commence in the spring and pick away at through the summer — updating all the floating holidays from various faith traditions, and the US holidays that land on a weekend, and new holidays, like Juneteenth in the US, which I've always included, but now that it's an official US holiday, the Monday rule applies, and so the federal observance will be on June 20 next year, because June 19 is a Sunday. 

For many religions, the ones I didn't grow up observing — Baha'i, Buddhism, Hindu, Islam, Judaism, Orthodox Christian — I feel that I need to check a few different sources, because any one source could be wrong. So it actually takes a bit of time, even though I only include the major holidays of these religions; there are many I leave out because only followers of those religions need to know, and they're not counting on me to tell them. But the impetus behind the Useful Calendar is to help people be considerate of one another's cultural and religious traditions when planning events that might affect them.

It's the same reason I always include the date of the Super Bowl — not for football fans, but for the rest of us, who may need to plan around it. 

My sketchbook page is in the middle of the two sources I was
copying and studying, including one with text I can't translate!

But the part I always leave for last are the illustrations. I have been collecting images of tigers and cats on a Pinterest board, and doing light research about these magnificent animals, and a wee bit of sketching, and examining studies of tiger anatomy and interesting facts about them, and really appreciating all the artists on Deviant Art who share their studies, instruction, and photographs on any subject you could want to draw!

But here it is early October and I don't have one finished illustration yet! So it's time to shift from sketching mode to get-serious mode. That includes finding images that photographers give permission to use, such as this German photographer (featured below) who goes by the business name Fotostyle Schindler and asks only that people credit him and provide a link to his Facebook page.


For the next few weeks, tigers and cats are going to be the focus of my attention, at least when I'm at home in my studio. I may even pay a visit to the Minnesota Zoo to see a real live tiger.


Sunday, September 12, 2021

Two Soft Cover Journals with a Cross-Stitch Binding

 In my last post, in which I wrote about the crisscross aka secret Belgian book binding, my first photo included two soft-cover journals with exposed stitches on the spine that cross over each other to form overlapping X's. It occurred to me that a person might think that would be called a crisscross binding, too, so I mentioned simply that those are different, but didn't want to say more about them in a post about the other journals. So now I am going to tell you a little about those.

It's called a cross-stitch binding, though I've also seen it called by other names, including a "corset" binding. In order to get the stitches to cross on the outside, you have to double back some on the inside of the signatures, so the fancier the X-pattern on the spine, the more stepping back and doubling up on the stitches you need to do on the inside, which can get a little tricky and may make the middles of those signatures a little bulky. Find a good demonstration and examples of this on Margarete Miller's website here. I agree with her conclusion that, while it's an attractive binding and kind of enjoyable to figure out, it's not something I want to do very often, because it's pretty fussy and the enjoyment diminishes after you've done a few of them.


These two small journals are made with a flexible cover-weight paper that has attractive striations on one side. I made them with a wrap-around cover and pockets in the back with the idea that they would make nice travel journals. They're about 4–5" high and wide, with moderately heavy paper that will take light use of wet media. The pockets are made from some large security envelopes I saved because I liked the pattern on the inside, and the paper was fairly heavy and durable.

The back cover wraps around and tucks into the front cover, where I put a circle of decorative paper and a white label so you can give your journal a title — or at least to make it clear which side is the front! But, seriously, I label my travel journals with the year and some reference to the contents, such as "2021 Road Trips," so I wanted to facilitate labeling them like that.


Come to think of it, I should do a post about my travel journals sometime. They're kind of a cross between a journal, a sketchbook, and a scrapbook. I guess that would make them visual journals. Anyway, I'll show you some examples of those next time.

Thanks for reading. These two journals will be available at my site during LoLa, which is coming up very soon! September 18–19 (2021), from 10 a.m. to 4 p.m. I'll be in my front yard with the journals and some other things on a table out there, and more items in the front porch for socially distanced browsing inside and out. My site is number 23, which you'll find on the LoLa website here. Or click on "Artists Directory" and enter my name (Sharon) into the search bar at the top (blue background). 

Stop by and say hello if you're in town (Minneapolis, Minn., that is).

Sunday, September 5, 2021

Crisscross binding and a not-so-secret Belgian book artist


Here are a few more of the handmade journals I'll have available during LoLa, Sep. 18–19. Last week I showed you my casebound journals, now here's a different type of binding.

One of my favorite forms of book binding for journals is the secret Belgian binding, or, more properly, the crisscross binding (shown above at left; the X-binding at right is a different matter). I learned this one a few years ago at Articulture, a local art education center. I like it because it offers the convenience and decorative stitching of a Coptic or chainstitch binding (here's an example of that)—that is, it will lay flat when open, making it user-friendly for left-handers as well as right-handers, and it has a decorative exposed stitch across the spine and on the covers. 

At the same time, unlike Coptic binding, it has a board covering the spine, which protects the pages and interior stitching, and gives you a place to write the date range or other information where you can easily see it when it's on the bookshelf. I find it to be a good choice when I want to repurpose an old book cover into a journal, especially if I want to use the spine from the original book—which I trim and then glue onto a strip of cardboard to make the new spine.

You make the cover and spine boards first, then stitch them together, which is kind of fun and reminds me of the sewing cards I played with as a kid. Then you sew the signatures to the ladder of crisscrossing threads on the inside of the spine. I made a slight adaptation of the way the signatures are sewn in because it felt a little more stable to me than the method I was taught. But this is not a technical blog, so I'm not going to go into that here. 

I was kind of attracted to the name, too: My sister was living in Belgium at the time, and my paternal grandparents had a fondness for the country because that was where Grandpa Parker served in WWI; after WWII, they signed up to send CARE packages to a Belgian family and maintained a lifelong correspondence. 

Inside the back cover of the "Microbes" journal

And who can resist the allure of something that's secret? I wondered about the name, though, and my teacher didn't know why it was called that, so I did a little research just now. It's not so secretive, after all, but its origin was a mystery to the American book artist who learned the technique in Europe and introduced it here.


The book arts underwent something of a revival in the late 20th century, and in the 1980s, a Belgian book binder named Anne Goy wanted to make a book with the decorative appearance of Japanese stab binding, but that would open flat, so she invented this technique, which she called crisscross binding. Later, American book artist Hedi Kyle learned it without knowing who invented it, only that it came from Belgium; hence, she called it the secret Belgian binding—because, to her, the origin was a secret! Sounds much more poetic than the IDK Belgian binding, doesn't it?

So, the secret isn't in the binding itself, but the seeming mystery of its origins. It's so easy to find these things out via the Internet nowadays, but when Hedi Kyle in the 1990s wanted to know about this mysterious new bookbinding method, she couldn't just google it. (Google was founded in 1998.)


(The "secret" to finding accurate information on the Internet is to examine multiple sources and check them against one another.  Although I link to just two sources about secret Belgian binding, I consulted several more to confirm the accuracy of the information in those two. Never trust a single source! And be very suspicious if they use identical phrases—that's a clue that they probably all just copied and pasted from Wikipedia. Not that Wikipedia is bad, as long as you check its sources and look to independently verify its factual statements.) 


Sunday, August 29, 2021

Journal-making Season

My art-making tends to have its seasons, influencing what I work on at various times of the year based on external circumstances. I mean, I have my internal inspirations, which are both constant and constantly changing, but it's those immutable events throughout the year that cause me to set aside some things for the sake of completing others.

It's one of the reasons I sign up for my neighborhood art crawl, which takes place on the third weekend of September (except last year, because COVID, of course).  It's organized by the League of Longfellow Artists (LoLa) for creative folks in the Longfellow neighborhood of Minneapolis to showcase their artistic output. 

LoLa gives me a deadline that motivates me to finish things I've been dragging out, and make new things to show and, hopefully, sell. I also enjoy the face-to-face interaction with neighbors and strangers and people I know and others I only kind of know—although two days of that is quite enough for this introverted artist. After that, I'm quite happy to retreat to my studio and focus on completing the Useful Calendar— my next art-making season.


I really just wanted to show you some of the journals I've been making lately, but I felt the need to put them in some kind of context, and then the whole art-making seasons idea came to me. 

So. I make journals for the LoLa art crawl and then after the weekend I consign the ones that are left over with the Minnesota Center for Book Arts in plenty of time for holiday shopping. In 2020, we cancelled LoLa, the MCBA was closed, and I didn't make any journals, so I was a little concerned that I may have forgotten how to make them. I did have to consult my notes for the first ones, but I soon got in the groove again. Like riding a bicycle, I suppose.

I always put a pocket inside the back covers, which holds a "library card" with  information about the journal, and my bookmark-style business card

The ones I'm showing you in this post are all casebound, with a flat spine rather than a curved one because they're a bit more user-friendly that way: you can make them lie flat when opened fairly easily. 

Casebound journals are a bit more involved than other types I also make, such as Coptic and secret Belgian, which I'll show you in my next post. For casebound journals, the spine is stitched, then glued, then reinforced with a fabric called mull and a strip of paper glued the almost-length of the spine. Optional but desirable is the addition of headbands at the top and bottom of the spine to protect the inner edges of the pages, and, one of my favorites, a ribbon page marker; because if I'm gluing all that stuff to the spine anyway, why not add that nifty little touch? 

You can buy headband material that looks like the old-style handstitched headbands, but when I read that binderies used to make them using leftover shirt fabric, I thought that was a really cool way to make my own. I wrap strips of cotton fabric around a hemp cord and glue it with the same PVA glue I use in the other stages of making the book. Then I select a color that goes with the cover and cut off a piece the width of the spine. (I wrote about making headbands in this post a few years ago, should you want to read more about it.) 


I've been using only supplies I already have on hand, and I make the journals in a range of sizes, largely determined by available materials. The red/postal journal shown at top and below is a full 5-1/2 by 8-1/2 inches, the next one is about half that size, and this last one, above, with William Morris's "Strawberry Thief" on the cover, is about 4 inches high.  I'll have a few in each size available for LoLa. 


To find me during LoLa, see my artist page on the LoLa website.

Here's a photo of my ribbons, mull fabric, and prepared headband strips, just for a little postscript. Some of the headbands really are made with fabric cut from my husband's worn-out shirts, others are just from scraps too small to use for anything else.


Wednesday, August 18, 2021

Little Boxes

I've been making little boxes this summer and it occurred to me that there's no need to keep that as my little secret, so let me tell you — and show you — a little bit about them. The boxes shown here (and more boxes yet to be made) will all be available at my site during the LoLa art crawl in September. (My page on the LoLa website is here.)

A couple of years ago I had taken an in-person class (remember those?) at the Minnesota Center for Book Arts on how to make a specific type of box called a clamshell, which are mainly made to protect old books. That's a worthwhile thing and I do intend to make them for the old Bibles that my husband and I each inherited from our mothers. But the real reason I took the class on making clamshell boxes was because it was the only box-making class being offered at the time.

So when they offered an introduction to box making via Zoom this June, I was happy to jump in. What I really want to make are small lidded boxes and that's what this class was about. The boxes we made for the class were about 4" by 6". After finishing those, I started making smaller ones, both because I really like small things and also because I like using up scraps and bits that are too small to make much, but that I like too much to discard.  

For example, in the photo above, the small neutral-colored box in the back to the left has a decorative square on the lid covered with a piece cut from a metallic gold envelope somebody used to send us a greeting card. And I'm really tickled by the blue-and-white one at the front, which is covered entirely in security envelopes, then topped with a vintage shanked button. That box is about 2" by 3" and is constructed with scrap chipboard left over from other projects.

This green box is a good example of using up leftover supplies. I bought the green book cloth this summer, but the rest of the materials I found by rummaging in my scraps. I've had the green paisley paper for a very long time and I don't know when or where I first acquired it. The lining of both the lid and the box (the bottom part of the box is called the tray) is the last of some scrapbooking paper I bought when I used to use that type of paper to make sleeves for my calendar cards. I love the distressed look and the pastel colors, especially pale pink! With subtle green polka dots! So I made a box small enough to use the available scraps I had.


The handle at the top, as you have no doubt guessed, is a vintage wooden game piece, like from Sorry or something. It has a lovely aged patina and is the perfect shade of green to go with the other materials, don't you think?

I'm also making journals for LoLa, and some of those are also small, to use up leftover materials. But that's a topic for a different blog post.


Wednesday, May 12, 2021

As Everything Keeps Changing, Afternoon Coffee Abides


I'm a bit of a late riser and a slow mover in the morning. Even when I get up at 8 or, very rarely, earlier, I still don't get dressed til after I do a little yoga and sometimes my morning pages, and I don't eat breakfast until about 10. For that reason, I avoid making morning appointments or commitments of any kind. And please don't ask me to morning coffee. I drink tea after breakfast (always at home), coffee in the afternoon.

Before the pandemic, when the early afternoon sun slanted in through the skylight and reached my desk in the corner, I would gather up my computer and whatever I'm working on, get on my bike and pedal to a neighborhood coffee shop to do a bit of work with a lovely latte at my side. Sometimes Craig, my husband, would bike over from his office to join me, if he didn't have an afternoon meeting.

As with everyone else, the covid shut-down completely upended my schedule. 

First, I no longer had the cue of hearing the back door close as hubby went off to work to signal that it was time to get out of bed. Second, well, he's just always home now, so instead of a silent house, I frequently hear the voices of his coworkers virtually gathered in his home office for the occasional meeting—on a schedule that's completely random to me. 

Formerly, the only sounds I would hear at home were those that wafted through the open windows when the weather is fine: the chattering and chirping of birds, the harmonizing of my wind chimes with those of my neighbor, and the assorted human-made sounds of a relatively quiet urban neighborhood. Oh, and the cabinet maker in his garage workshop just up the alley using his power tools. But other than that, it's been pretty quiet on weekdays around here. I rarely play music or the radio during the day.

I find it easy to focus with that kind of background noise, but not so much when there's a meeting going on in the room across the hall. I confess I am too easily distracted, so it doesn't take much.  And there's been no picking up and heading off to the coffee shop for a change of scene to spur my mindset into a more productive mode.

So now you know my excuse for writing so few blog posts in the last 12 months, and for the various zines-in-progress that haven't come to fruition yet.

But what I really wanted to tell you about is how we started our own afternoon coffee-break-at-home tradition a year ago, and how we've come to enjoy it so much that we are not likely to abandon it entirely even as all our favorite spots are gradually opening up again. Besides, some of them still close too early in the afternoon for my schedule, and another has a 90-minute time limit on sitting, which is perfectly reasonable, but does cramp my style a little if I'm just getting into the groove of something I'm working on. 

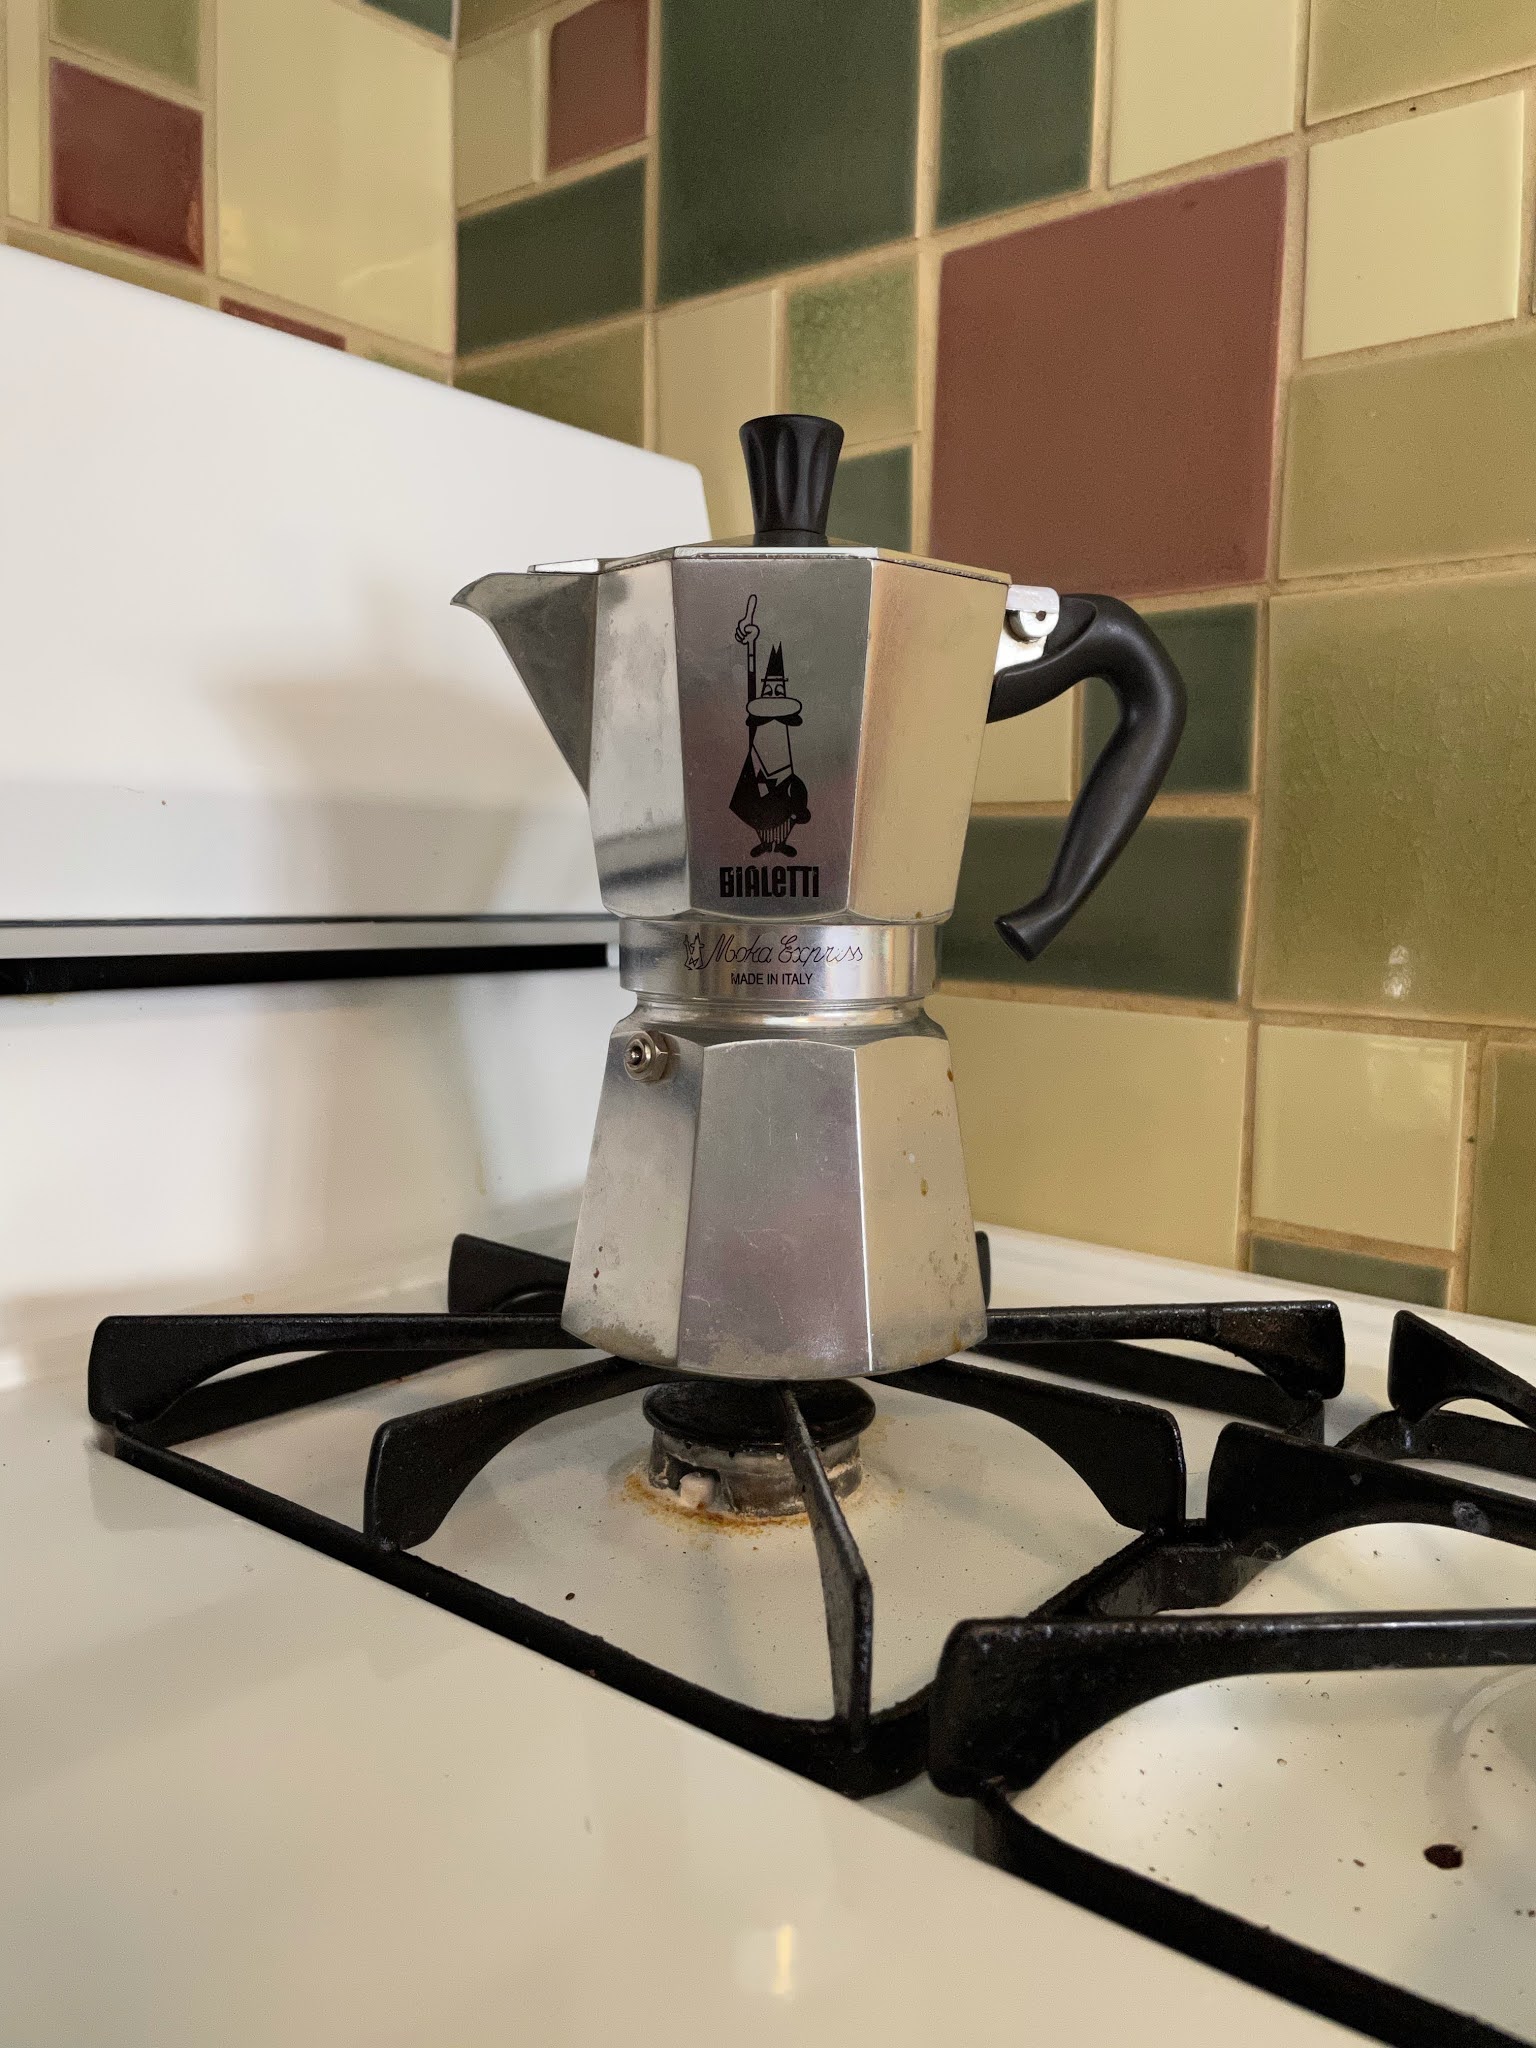
Our first few weeks of this new at-home coffee practice involved a bit of trial-and-error. We mail-ordered coffee beans from Dogwood Coffee, got out the Hario hand grinder and Moka stove-top espresso pot I bought a few years ago, and started playing barista. I tried to get in touch with my Swedish heritage by calling our coffee break fika, but it felt a little forced and I kinda forgot about it anyway.

I soon discovered that I preferred a pour-over; bought a ceramic pot and cone by Melitta; found that to be too big, and subsequently hunted down a pint-size vintage pitcher on Etsy that's exactly the right size and has a flat top that perfectly fits the Melitta cone (pictured at top). Yay.

I offered hubby some tips on warming milk without scalding it for his latte, using a whisk to stir it while heating, and he proceeded to whisk it into a froth that he was quite proud of.

We continue to support our nearest neighborhood coffee shop, the Riverview Cafe, by purchasing their excellent banana bread to go with our coffee. Occasionally I've made muffins or scones, but we really like their banana bread and so far haven't tired of it, so that continues to be our favorite.

I also found a little serendipitous side benefit of purchasing those bags of coffee beans at a time when I was making pandemic face masks — the wire-and-plastic closure band across the top of the coffee bag made a very nice little topper on the masks to fit them over our noses snugly (which I later figured out how to put in between the layers of cotton). Each coffee bag was good for two face masks. 


Dogwood has since changed the design of their coffee bags and so no more bands for mask making, but I still have a few of them left from all those months of buying beans, which I will hang on to in case we have need of more masks in the future (*sigh*).

I recently overheard one of hubby's meetings in which they were discussing plans for when to return to the office, probably in September, most likely in the form of a hybrid schedule incorporating working at home but going in on certain days for meetings (yay). Perhaps on those days I'll bike to the coffee shop when the weather invites it, and make my pour-over at home when it's not so nice out. 

Like everyone else, we'll keep adapting to changing schedules, and we'll find ways to continue our afternoon coffee breaks one way or another.

Incidentally, I'm writing this at the coffee shop. And my time is almost up.  


Thursday, January 14, 2021

And Now for Something Yellow

We put away the Christmas items the weekend following Epiphany, by which time I'm in the mood for something with a completely different feel. Something light, and yellow, and uncluttered. At the center of the new buffet vignette stands Julia, resplendent as always in her yellow dress.

Yellow is one of Pantone's new colors of the year for 2021; the other is gray. (Or, that is, "Illuminating," and "Ultimate Gray.") But for me, yellow is always the color of the month for January.

Yellow was my mother's favorite color, and her birthday was January 29. I would search for a yellow primula to give her, but often had to settle for a kalanchoe instead. I gave her a couple of yellow mugs over the years, too, which came into my possession after she died in 2015. One holds pens on my desk and serves as a pleasant functional memento. Mom would have turned 92 this month.

Julia, the yellow clad figurine and the human she represents, dwelt in this house before us. Julia was the owner of the house and died a year or so before we bought it in 2010, having reached the age of 90-something. According to our neighbors, she was active right up until the day of her death, which occurred quietly at home, here in this house. 

She lived independently for many years after her husband, Harry, died. She had a lush flower garden and a gentleman companion. She enjoyed a warm and friendly relationship with our neighbor Bonnie, who tended Julia's garden the summer after her death, and later helped me identify some of the flowers Julia had bequeathed to us. 

We first looked at the house (the exterior, that is) in spring when an abundance of yellow daffodils were blooming all around the backyard. We took a tour inside on Mother's Day—our Realtor, who was young enough to be my son, and whose father had been our Realtor when we bought our first house, gave me a hug and wished me a happy Mother's Day. 

The 1920s bungalow is so characteristic of the Longfellow neighborhood of South Minneapolis that the term Longfellow bungalow is quite common around here. We have long been attracted to this style of house, and this one is a fine example of the style, without being too precious or elaborate. 

And it has a built-in buffet! A buffet offers such a perfect display area, a sort of playground for creating seasonal vignettes. I had wanted one since we bought our first house in 1987, but hadn't managed it until now.

A couple of weeks before we were set to close on the house, Julia's heirs had an estate sale to clear out the myriad possessions that they had crammed into the garage for ease of showing the place. We went and introduced ourselves, and selected a few small items to buy as a kind of bridge connecting us to the house's previous inhabitants. 

Porcelain figurines of ladies in fancy dresses are not usually my sort of thing, but I thought one of them would be a fitting avatar of the previous owner and her taste in decor. I chose the one with a yellow dress, perhaps thinking of the daffodils I had admired a month earlier, or of my mother's favorite color. The family said that this one did indeed look like Julia. Of course she does. And here she stays.