Showing posts with label bookbinding. Show all posts

Wednesday, September 21, 2016

Making new journals from old books: headbands

I'm going to give you a few behind-the-scenes looks at some journals I've been making, using vintage book covers. This is not a tutorial, sorry. It's more like a show-and-tell about different aspects of making handbound journals. (But I do link to a tutorial now and then, so click those links to see how it's done.) 

This post is about headbands.


These journals (except Werner Arithmetic, which was purchased by a mathematician), and others, are being added to my Etsy shop, which is also called Sharon's Compendium, over the coming days and weeks.

One of the appeals of making journals from old books, beyond the obvious fact that some vintage book covers really are more appealing than their contents, is that I get to take them apart and examine how they were made.


I'm interested in traditional bookbinding methods, but I'm not a purist, so I end up using a hybrid of old, new, and modified techniques to make my journals.

One intriguing feature of traditional casebound books is the headband. It is attached to the top and bottom of the text block (the paper that fills a book, whether or not it actually has text on it). It's not just a decorative touch, it actually protects the edges of the paper at the top and bottom of the spine. (The one at the bottom is more correctly called a tail band, but only fussy traditionalists call it that anymore.)

In high-end bookbinding, the headbands are actually sewn with silk thread in a meticulous process. Here's a good how-to from Papercut Bindery.

At the other end, you can buy headband material that looks embroidered, and glue it to the ends of the spine.

The middle way, which I have adopted, is to make them from fabric and cord, glued with PVA (a bookbinder's glue that dries slowly and remains strong and flexible).

Here I've removed the headband from an old book and opened it up

The glued fabric headband, made from striped shirt fabric, was common by the early 19th century, writes Laura S. Young in Bookbinding and Conservation by Hand: A working guide. (I borrowed a copy from the Hennepin County Library.) 


I have prepared a few strips of headbands using leftover scraps of cotton fabric, including some from my husband's old shirts. The cord is actually hemp twine, which seemed like the right thickness to me. I just cut off a piece to fit the width of the spine when I'm ready to attach it.


And I figured that, as long as I'm making and attaching headbands, why not add a ribbon to use as a page marker? The ribbon is glued to the spine first, then the headband over it. There are a couple more steps before the cover is attached, which I'll write about in a later post.

Notice that the headband is not attached to the cover, just to the text block. This maintains the flexibility of the spine so that the book will open easily.

Another time I'll tell you a little about spines, and why the ones I make are flat, not rounded. And then there are the endpapers, which can be plain or decorative. Or I might write about something else I'm working on. You never know. So please check back sometime. Thanks!

Tuesday, August 19, 2014

I Am a LoLa Artist Too!

The LoLa art crawl is this weekend, August 23–34!! I will be participating this year at the Minnehaha Professional Building, 3960 Minnehaha Avenue (site No. 39 on the LoLa map), with artists Jymme Golden and Laura Burlis.

What's the secret of secret Belgian binding? I will show you at the art crawl.

Stop by between 10 a.m. and 5 p.m. Saturday and Sunday to enjoy shelter from both rain and heat in this comfortable air conditioned space on Longfellow's main drag, as well as refreshments, cool demos (Laura Burlis on making millefiore canes, me revealing the secret of secret Belgian book binding, and Jymme with her sketchbooks open to show her process), and a give-away drawing by Jymme, and maybe me, too.

I have been making a few new things for LoLa and I thought I would give you a little preview of some of them.


A fun series of projects I started this spring are little hand knit pocket doll critters to tell your troubles to or play with (for children older than 3) or display on your desk to remind you to lighten up.

Each of these is knit by hand without a pattern or instructions. I just wanted to have fun with free-form knitting without having to follow directions or take notes. As I finished up knitting them, I pulled all "tails" of yarn, and sometimes a little extra yarn, to the inside to serve as stuffing.

Then I put them in mesh bags and sent them through the wash several times to felt them, which makes them even smaller and "knits" the fibers together for extra firmness and body. After they're dry, I add wooden beads for heads and sew on their hats and embellishments.

They are all less than three inches high.


I've also been making more journals, some from beverage boxes and some repurposing the covers of vintage books.


Then I've taken the text blocks from the books and have been turning them into little stand-alone art pieces of their own.


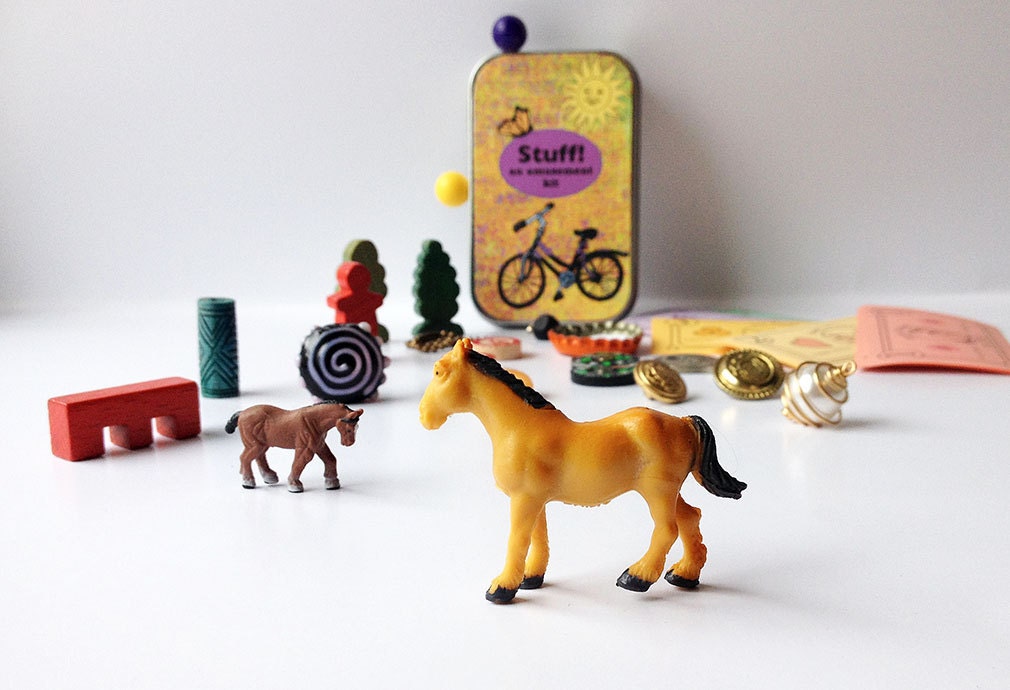
I've also been working on some upcycled decorated tins. I have been making these little kits or treasure boxes for kids for a few years now, each one is unique and is filled with assorted small toys and other objects. I have several of them ready to bring to LoLa.


But sometimes people give me their used mint tins to repurpose, and so I thought it would be fun to try something different: to fix up the tins but sell them empty so that other people could have the fun of putting together their own treasure boxes, whether as gifts (for kids or adults) or for themselves.

One of several tins-in-progress

In fact, there are a few stops along the LoLa art crawl where you can pick up some fabulous tiny things to put in your own tins, and I will have information and tips about them available for you.

Finally, I designed a DIY "mindfulness cube" with sayings on each side, to use as an object of contemplation or even as a small gift box. I will have a few of these assembled as examples, but will be selling only the flat sheets, printed on card stock, for people to make their own.


I hope to see you at the crawl!